

Edit DJI Osmo+ 4K with Premiere Elements
Category : 4K Editor , 4K Formats , Adobe Premiere
The Osmo+ features a 4K camera capable of capturing DCI 4K (4096 x 2160) resolution at 24/25 fps and Ultra HD 4K (3840 x 2160) at up to 30 fps. For novice editors and consumers who are looking for a cross-platform editing software that offers a lot more features and lots of help with creating effects for your DJI Osmo+ 4K video editing, Adobe Premiere Elements can be a good choice. How about the workflow of DJI Osmo+ 4K video with Premiere Elements?
Specification of DJI Osmo+ 4K video
From the specification page of DJI Osmo+ 4K, we get the information that the DJI Osmo+ shots both DCI and UHD 4K video in either MP4 or MOV container file format with the MPEG-4 AVC/H.264 compression codec.
Does Premiere Elements support 4K video editing?
When Adobe announced Premiere Elements 14 in 2015, one of the great new features is its initial support for 4K Ultra HD. It also means that Premiere Elements 14 and its later versions are now capable of importing and editing 4K Ultra HD material. However, it is well known that 4K video editing is very processor intensive, if you don’t own a powerful computer, you will often encounter computer crashing issue or 4K vide stuttering or lagging issues when viewing them on the timeline of Premiere Elements. In that condition, it would be a good option to compress 4K to 1080p with smaller file resolution for smooth editing workflow.
Can Premiere Elements native import DJI Osmo+ H.264 MP4/MOV video?
After searching for Premiere Elements supported file formats, we can see that it has included importing support for both H.264 MP4 files and H.264 encoded QuickTime MOV files. However, it is well known that H.264 is a good delivery file format, but not a good editing format. Therefore, for those people who wish to get a high quality and high performance editing workflow, it would be much ideal for you to transcode Osmo+ H.264 to Premiere Elements more friendly editing format or codec such as WMV or MPEG-2.
Related article: Can FCP Support Osmo 4K Video | Import Osmo 4K to PowerDirector | Import DJI Osmo 4K to PPC
Transcode and Compress Osmo+ 4K H.264 for Premiere Elements Editing
To get a smooth and successfully editing workflow of Osmo+ 4K video with Premiere Elements, it would be much ideal for you to decode and compress Osmo+ 4K to Premiere Elements most favorable 1080p MPEG-2 or WMV file formats.
Here, you can get the job easily down with our best 4K Video Converter – Pavtube Video Converter Ultimate. The program has perfect importing support for both the DCI and UHD 4K H.264 MP4/MOV video shot with DJI Osmo+ camera. Thanks to its batch conversion mode, you can load multiple DJI Osmo+ 4K video into the application for conversion at one time.
The powerful yet simple to use application not only assists you to directly export Osmo+ H.264 MP4/MOV to Premiere Elements native optimized MPEG-2 or WMV editing format or codec, but also facilitates you to compress 4K to 1080p for smooth editing workflow even on underpowered computer.
For Mac users, you can switch to download Pavtube iMedia Converter for Mac to perform the video transcoding and compression process on macOS High Sierra, macOS Sierra, Mac OS X El Capitan, Mac OS X Yosemite, Mac OS X Mavericks, etc.


|
Get Pavtube Video Converter Ultimate with 20% off discount, coupon codec: 45K2D47GJH
|
Step by Step to Convert and Compress Osmo+ 4K H.264 for Premiere Elements Editing
Step 1: Load Osmo+ 4K video.
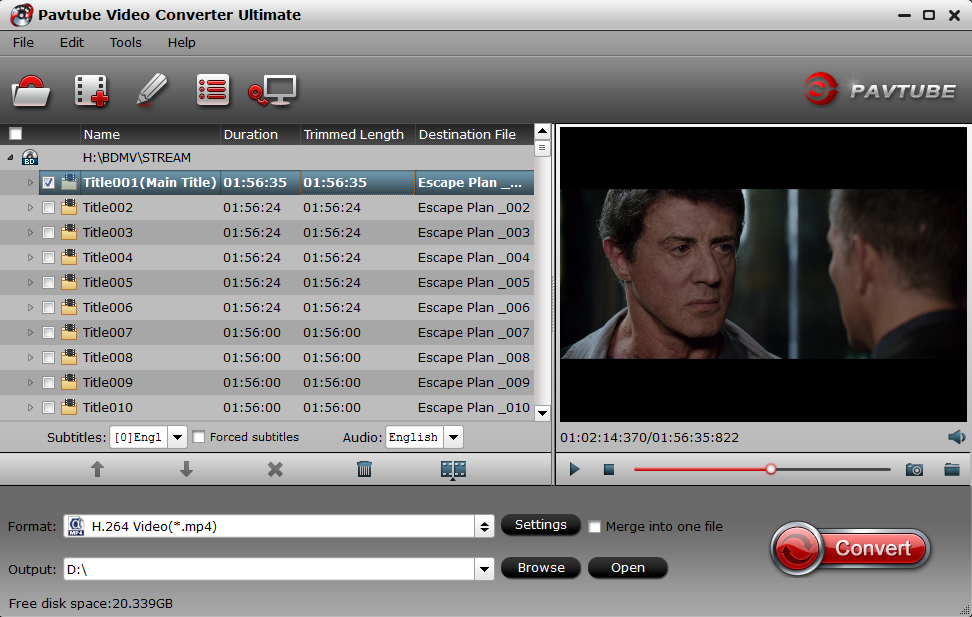
Download the free trial version of the program. Launch it on your computer. Click “File” menu and select “Add Video/Audio” or click the “Add Video” button on the top tool bar to import Osmo+ 4K video files into the program.
Step 2: Define the output format.
Clicking the Format bar, from its drop-down list, select Premiere Elements specially optimized editing codec “MPEG-2(*.mpg)” or “WMV (VC-1)(*.wmv)” under “Adobe Premiere/Son…” main category.

Step 3: Compress 4K to 1080p.
Click “Settings” on the main interface to open “Profile Settings” window, in video section, from “Size(pix)” drop-down list, choose “1980*1020” or “1080*720” to compress 4K to 1080p or 720p.
Step 4: Begin the conversion process.
After all setting is completed, hit the “Convert” button at the right bottom of the main interface to begin the conversion process from Osmo+ 4K to Premiere Elements best compatible 1080p or 720p MPEG-2.
When the conversion is finished, click “Open Output Folder” icon on the main interface to open the folder with generated files. Then you can get a smooth workflow of Osmo+ 4K with Premiere Elements.


